As a trusted supplier of Motorbike Battery Chargers, I'm often asked about the proper installation steps for these essential devices. A well - installed battery charger ensures the longevity and efficient performance of your motorbike's battery. In this blog post, I'll walk you through the comprehensive installation process.
Step 1: Gather the Necessary Tools and Equipment
Before you start the installation, make sure you have all the tools at hand. You'll need a set of wrenches (usually a combination of metric and standard sizes), a screwdriver (both flat - head and Phillips - head), and safety equipment such as gloves and safety glasses. It's also a good idea to have a voltage meter to check the battery's voltage before and after installation.
Step 2: Choose a Suitable Location
Selecting the right location for your motorbike battery charger is crucial. The area should be well - ventilated to prevent the build - up of potentially explosive gases produced during the charging process. It should also be dry and away from direct sunlight or heat sources. A common choice is to mount the charger near the battery, but make sure there is enough space for proper air circulation around the charger.
Step 3: Disconnect the Motorbike Battery
Safety first! Before you begin any work on the battery or charger, disconnect the negative terminal of the motorbike battery. This is usually the black cable. Use a wrench to loosen the nut on the terminal and carefully remove the cable. Then, disconnect the positive terminal (the red cable) in the same manner. This step is essential to prevent any electrical shock or short - circuit during the installation.
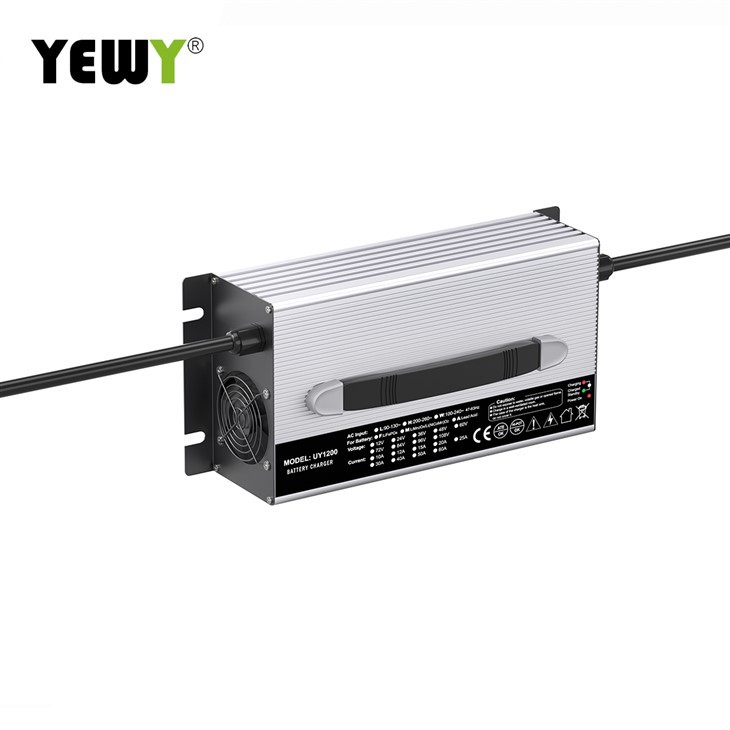
Step 4: Prepare the Charger
Take a close look at your motorbike battery charger. Identify the input and output terminals. The input terminal is where you'll connect the charger to a power source, typically a standard electrical outlet. The output terminal is for connecting to the motorbike battery. Some chargers come with pre - attached cables, while others may require you to attach the cables yourself. If you need to attach the cables, follow the manufacturer's instructions carefully.
Step 5: Mount the Charger
If your charger comes with a mounting bracket, use the appropriate screws and a screwdriver to mount the charger in the location you've chosen. Make sure it is securely fastened so that it doesn't vibrate or move during the charging process. If you're not using a mounting bracket, you can place the charger on a stable surface near the battery, but ensure it is out of the way of any moving parts on the motorbike.
Step 6: Connect the Charger to the Battery
Once the charger is mounted, it's time to connect it to the battery. First, connect the positive (red) cable from the charger to the positive terminal of the battery. Tighten the nut on the terminal with a wrench to ensure a good connection. Then, connect the negative (black) cable from the charger to the negative terminal of the battery in the same way. Double - check that all connections are tight and there are no loose wires.
Step 7: Connect the Charger to a Power Source
After connecting the charger to the battery, plug the charger into a suitable electrical outlet. Make sure the outlet is properly grounded to prevent electrical hazards. Some chargers have a built - in indicator light that will turn on when it is connected to power. Check the charger's manual to understand what the different indicator lights mean.
Step 8: Test the Charger
Before leaving the charger to do its job, it's a good idea to test it. Use a voltage meter to check the voltage of the battery before starting the charging process. Then, turn on the charger according to the manufacturer's instructions. After a few minutes, check the voltage again. You should see an increase in voltage, indicating that the charger is working properly.
Step 9: Monitor the Charging Process
Once the charger is running, it's important to monitor the charging process. Most chargers have an automatic shut - off feature that stops charging when the battery is fully charged. However, it's still a good practice to check on the charger periodically, especially during the first few charging cycles. If you notice any unusual noises, smells, or overheating, stop the charging process immediately and check the charger and battery for problems.
Step 10: Reconnect the Motorbike Battery
After the battery is fully charged, turn off the charger and unplug it from the power source. Then, disconnect the charger from the battery by first removing the negative cable and then the positive cable. Finally, reconnect the motorbike battery by first attaching the positive cable and then the negative cable.

In addition to motorbike battery chargers, we also offer a wide range of other battery chargers, such as Golf Cart Battery Charger, 48v Golf Cart Battery Charger, and Electric Bike Battery Charger. These chargers are designed with the same high - quality standards and advanced technology as our motorbike battery chargers.
If you're in the market for a reliable battery charger for your motorbike, golf cart, or electric bike, we'd love to hear from you. Our team of experts is ready to assist you in choosing the right charger for your needs. Whether you're a professional mechanic or a DIY enthusiast, we have the products and knowledge to support you. Contact us today to start the procurement discussion and take advantage of our high - quality battery chargers.
References
- "Motorcycle Battery Charging Guide" - Motorcycle Maintenance Manuals
- "Battery Charger Installation Best Practices" - Electrical Safety Journal