

Adjusting the charging settings on a motorbike battery charger is a crucial skill for any motorcycle enthusiast or professional. As a supplier of high-quality Motorbike Battery Chargers, I understand the importance of getting these settings right to ensure the longevity and optimal performance of your motorcycle battery. In this blog post, I'll guide you through the process of adjusting the charging settings on a motorbike battery charger, providing you with the knowledge and confidence to keep your motorcycle's battery in top condition.
Understanding Your Motorbike Battery Charger
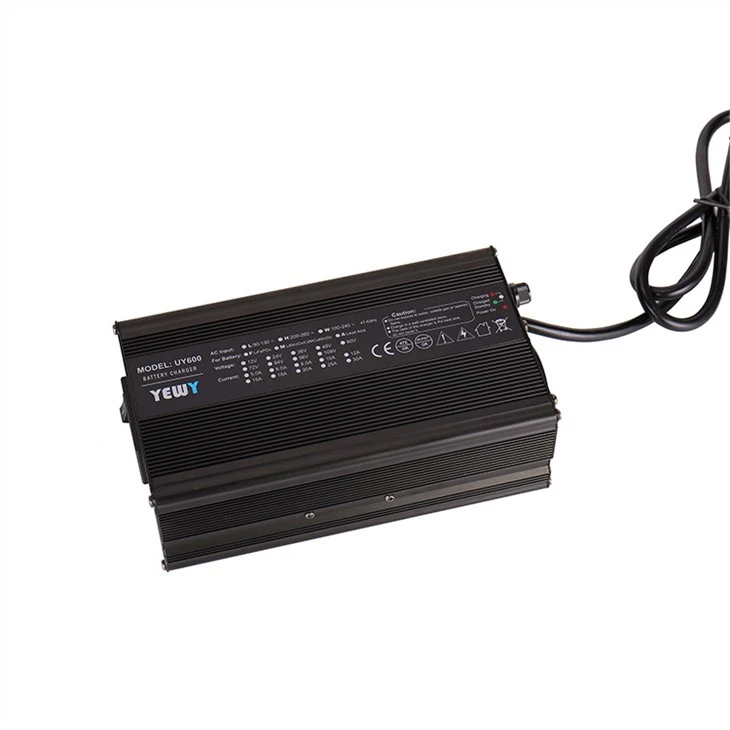
Before you start adjusting the charging settings, it's essential to understand the different types of motorbike battery chargers available and their features. There are several types of chargers, including trickle chargers, smart chargers, and fast chargers. Each type has its own set of charging settings and capabilities.
Trickle chargers are designed to provide a slow, steady charge over an extended period. They are ideal for maintaining a fully charged battery during long periods of inactivity. Smart chargers, on the other hand, are more advanced and can automatically adjust the charging rate based on the battery's condition. They are equipped with microprocessors that monitor the battery's voltage, temperature, and state of charge, ensuring a safe and efficient charging process. Fast chargers, as the name suggests, can charge a battery much quicker than trickle or smart chargers. However, they should be used with caution, as overcharging can damage the battery.
As a supplier, we offer a wide range of Motorcycle Battery Chargers to suit different needs and budgets. Our chargers are designed with the latest technology to provide reliable and efficient charging for your motorcycle battery.
Safety First
Before you start working on your battery charger, it's important to take some safety precautions. Always wear protective gloves and goggles to protect yourself from any potential hazards. Make sure the charger is unplugged from the power source before making any adjustments. Also, ensure that the battery is disconnected from the motorcycle to prevent any electrical shocks or short circuits.
Step-by-Step Guide to Adjusting Charging Settings
Step 1: Identify the Battery Type
The first step in adjusting the charging settings is to identify the type of battery in your motorcycle. There are two main types of motorcycle batteries: lead-acid and lithium-ion. Lead-acid batteries are the most common type and are available in two subtypes: flooded and sealed. Flooded lead-acid batteries require regular maintenance, such as checking the electrolyte levels, while sealed lead-acid batteries are maintenance-free. Lithium-ion batteries are lighter and more powerful than lead-acid batteries, but they are also more expensive.
Most modern battery chargers are designed to work with both lead-acid and lithium-ion batteries. However, they may have different charging settings for each type. Refer to the charger's user manual to find out how to select the appropriate battery type setting.

Step 2: Check the Battery Voltage
The next step is to check the battery's voltage. You can use a multimeter to measure the voltage. A fully charged lead-acid battery should have a voltage of around 12.6 to 12.8 volts, while a fully charged lithium-ion battery should have a voltage of around 13.2 to 13.8 volts. If the battery's voltage is significantly lower than these values, it may be discharged and in need of charging.
Step 3: Select the Charging Mode
Once you have identified the battery type and checked the voltage, you can select the appropriate charging mode. Most battery chargers offer several charging modes, such as bulk charge, absorption charge, and float charge.
- Bulk Charge: This is the initial stage of the charging process, where the charger delivers a high current to quickly charge the battery. The charger will continue to charge the battery at this high rate until it reaches around 80% of its capacity.
- Absorption Charge: After the bulk charge, the charger switches to the absorption charge mode. In this mode, the charger reduces the charging current and maintains a constant voltage to fully charge the battery. This stage can take several hours, depending on the battery's capacity.
- Float Charge: Once the battery is fully charged, the charger switches to the float charge mode. In this mode, the charger delivers a low current to maintain the battery's charge without overcharging it. This is the ideal mode for long-term battery maintenance.
Refer to the charger's user manual to find out how to select the appropriate charging mode for your battery.
Step 4: Set the Charging Current
In addition to selecting the charging mode, you may also need to set the charging current. The charging current is the amount of electrical current that the charger delivers to the battery. The appropriate charging current will depend on the battery's capacity and the charger's specifications.
As a general rule, the charging current should not exceed 10% of the battery's amp-hour (Ah) rating. For example, if you have a 10 Ah battery, the charging current should not exceed 1 amp. Refer to the charger's user manual to find out how to set the charging current.
Step 5: Start the Charging Process
Once you have selected the battery type, checked the voltage, selected the charging mode, and set the charging current, you can start the charging process. Plug the charger into a power source and connect it to the battery. Make sure the connections are secure and there are no loose wires.
The charger will automatically start charging the battery according to the settings you have selected. Monitor the charging process regularly to ensure that everything is working properly. If you notice any unusual noises, smells, or signs of overheating, stop the charging process immediately and check the charger and battery for any problems.
Other Considerations
- Temperature: The temperature can have a significant impact on the charging process. Charging a battery in extreme temperatures can damage the battery and reduce its lifespan. It's best to charge the battery in a cool, dry place with a temperature between 50°F and 86°F (10°C and 30°C).
- Overcharging: Overcharging a battery can cause it to overheat, which can damage the battery and reduce its lifespan. Most modern battery chargers are equipped with overcharge protection features to prevent this from happening. However, it's still important to monitor the charging process and unplug the charger once the battery is fully charged.
- Maintenance: Regular maintenance is essential for keeping your motorcycle battery in top condition. In addition to charging the battery correctly, you should also check the electrolyte levels (if applicable), clean the battery terminals, and inspect the battery for any signs of damage.
Conclusion
Adjusting the charging settings on a motorbike battery charger is a relatively simple process, but it requires some knowledge and attention to detail. By following the steps outlined in this blog post, you can ensure that your motorcycle battery is charged safely and efficiently, prolonging its lifespan and ensuring optimal performance.
As a leading supplier of Motorcycle Battery Chargers, we are committed to providing our customers with high-quality products and excellent customer service. If you have any questions or need further assistance with adjusting the charging settings on your battery charger, please don't hesitate to contact us. We are here to help you keep your motorcycle's battery in top condition.
In addition to motorcycle battery chargers, we also offer a range of Low Speed Electric Vehicle Battery Chargers and Electric Scooter Battery Chargers. Whether you're a motorcycle enthusiast, an electric vehicle owner, or a scooter rider, we have the right charger for your needs.
If you're interested in purchasing a battery charger or have any questions about our products, please feel free to contact us. We look forward to hearing from you and helping you find the perfect charger for your vehicle.
References
- Battery University. (n.d.). Understanding Lead-Acid Batteries. Retrieved from https://batteryuniversity.com/learn/article/lead_acid_basics
- Battery University. (n.d.). Understanding Lithium-Ion Batteries. Retrieved from https://batteryuniversity.com/learn/article/bu_301_introduction_to_lithium_ion
- Motorcycle Battery Charger User Manuals. (n.d.). Retrieved from various manufacturers' websites