

Hey there! As a battery charger supplier, I often get asked about all sorts of charger - related stuff. One common question that comes up is how to replace a cable on a battery charger. So, in this blog, I'm gonna walk you through the whole process step by step.

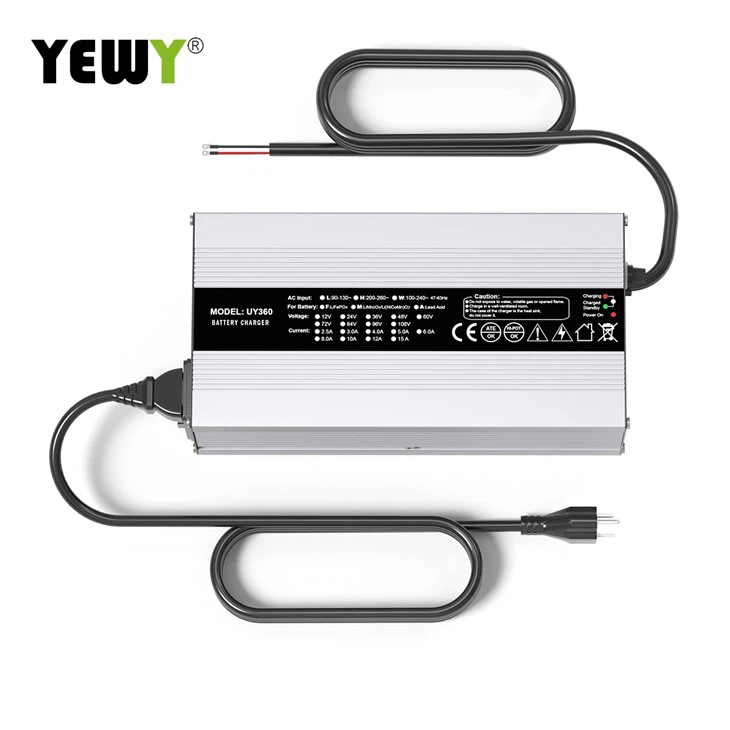
Why You Might Need to Replace the Cable
First off, let's talk about why you'd even want to replace the cable on your battery charger. There are a few reasons. Maybe the cable has been chewed on by a pet (it happens more often than you'd think). Or it could be that it's just worn out from years of use. Frayed wires can be a real safety hazard, as they might cause a short - circuit or even start a fire. So, if you notice any damage to the cable, it's time to get it replaced.
Tools You'll Need
Before you start the replacement process, you'll need to gather a few tools. Here's what you'll need:
- A new cable: Make sure it's the right type and length for your battery charger. You can usually find the specifications in the charger's manual. If you're not sure, don't worry! Our company offers a wide range of cables suitable for different chargers, including Motorbike Battery Charger, Pallet Truck Battery Charger, and 48v AGV Battery Charger.
- Screwdriver: A small one will usually do the trick. You'll use it to open the charger's housing.
- Wire strippers: These are essential for removing the insulation from the wires.
- Electrical tape: To insulate the connections and keep them safe.
- Soldering iron and solder: If your charger uses soldered connections, you'll need these to reattach the new cable.
Step 1: Safety First
Before you do anything, unplug the charger from the power source. This is super important because working on a live charger can be extremely dangerous. You don't want to get electrocuted or cause any damage to the charger.
Step 2: Open the Charger
Use your screwdriver to remove the screws on the charger's housing. Place the screws in a safe place so you don't lose them. Gently pry open the housing. Be careful not to break any of the plastic clips or tabs that hold it together.
Step 3: Locate the Old Cable
Once the housing is open, you'll be able to see the old cable. It's usually connected to the charger's circuit board. Take a good look at how it's connected. You might want to take a picture with your phone to refer back to later, especially if there are multiple wires.
Step 4: Remove the Old Cable
If the cable is connected with soldered joints, use the soldering iron to heat up the solder and disconnect the wires from the circuit board. If it's a plug - in type of connection, simply unplug it. Be careful not to damage the circuit board or any other components while you're doing this.
Step 5: Prepare the New Cable
Use the wire strippers to remove about half an inch of insulation from the ends of the new cable. Make sure you expose enough wire to make a good connection. If the new cable has different colored wires, match them up with the old ones. Usually, the colors indicate the positive and negative terminals.
Step 6: Connect the New Cable
If you're using a soldering method, apply a small amount of solder to the tip of the soldering iron. Then, heat up the connection point on the circuit board and touch the wire to it. The solder should flow and create a strong connection. If it's a plug - in connection, just plug the new cable into the appropriate sockets on the circuit board.
Step 7: Insulate the Connections
Once the new cable is connected, use the electrical tape to wrap around the connections. This will prevent any short - circuits and keep the wires in place. Make sure the tape covers the exposed wires completely.
Step 8: Close the Charger
Carefully place the charger's housing back together. Line up the plastic clips and tabs and press them firmly until they snap into place. Then, use the screwdriver to put the screws back in.
Step 9: Test the Charger
After you've reassembled the charger, plug it into the power source and test it with a battery. Check to see if it's charging properly. If you notice any issues, such as no power or overheating, unplug it immediately and double - check your connections.
Conclusion
Replacing a cable on a battery charger might seem like a daunting task, but with the right tools and a little patience, you can do it yourself. Remember, safety is always the top priority. If you're not comfortable doing it on your own, you can always reach out to us.
As a trusted battery charger supplier, we're here to help you with all your charger needs. Whether you need a new cable or a whole new charger, we've got you covered. We offer high - quality products at competitive prices and have a team of experts ready to assist you. So, if you're interested in making a purchase or have any questions about our products, don't hesitate to get in touch for procurement and negotiation. We're looking forward to doing business with you!
References
- General knowledge from years in the battery charger supply industry.
- Manufacturer's manuals for various battery chargers.